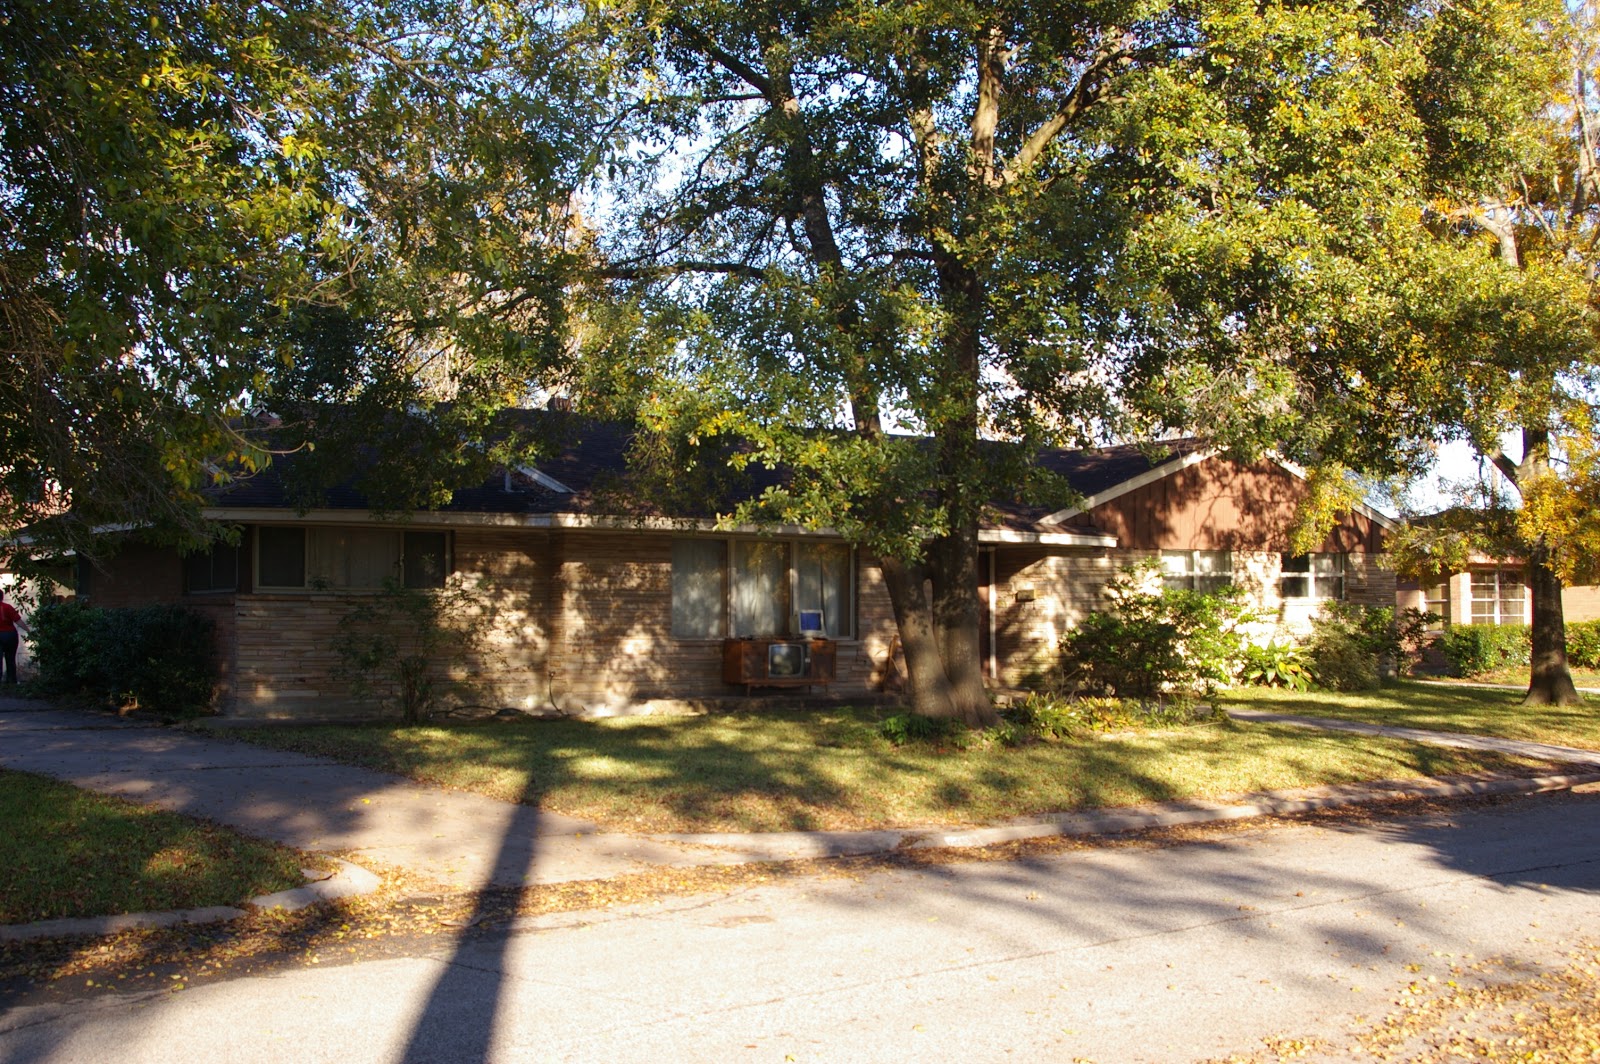
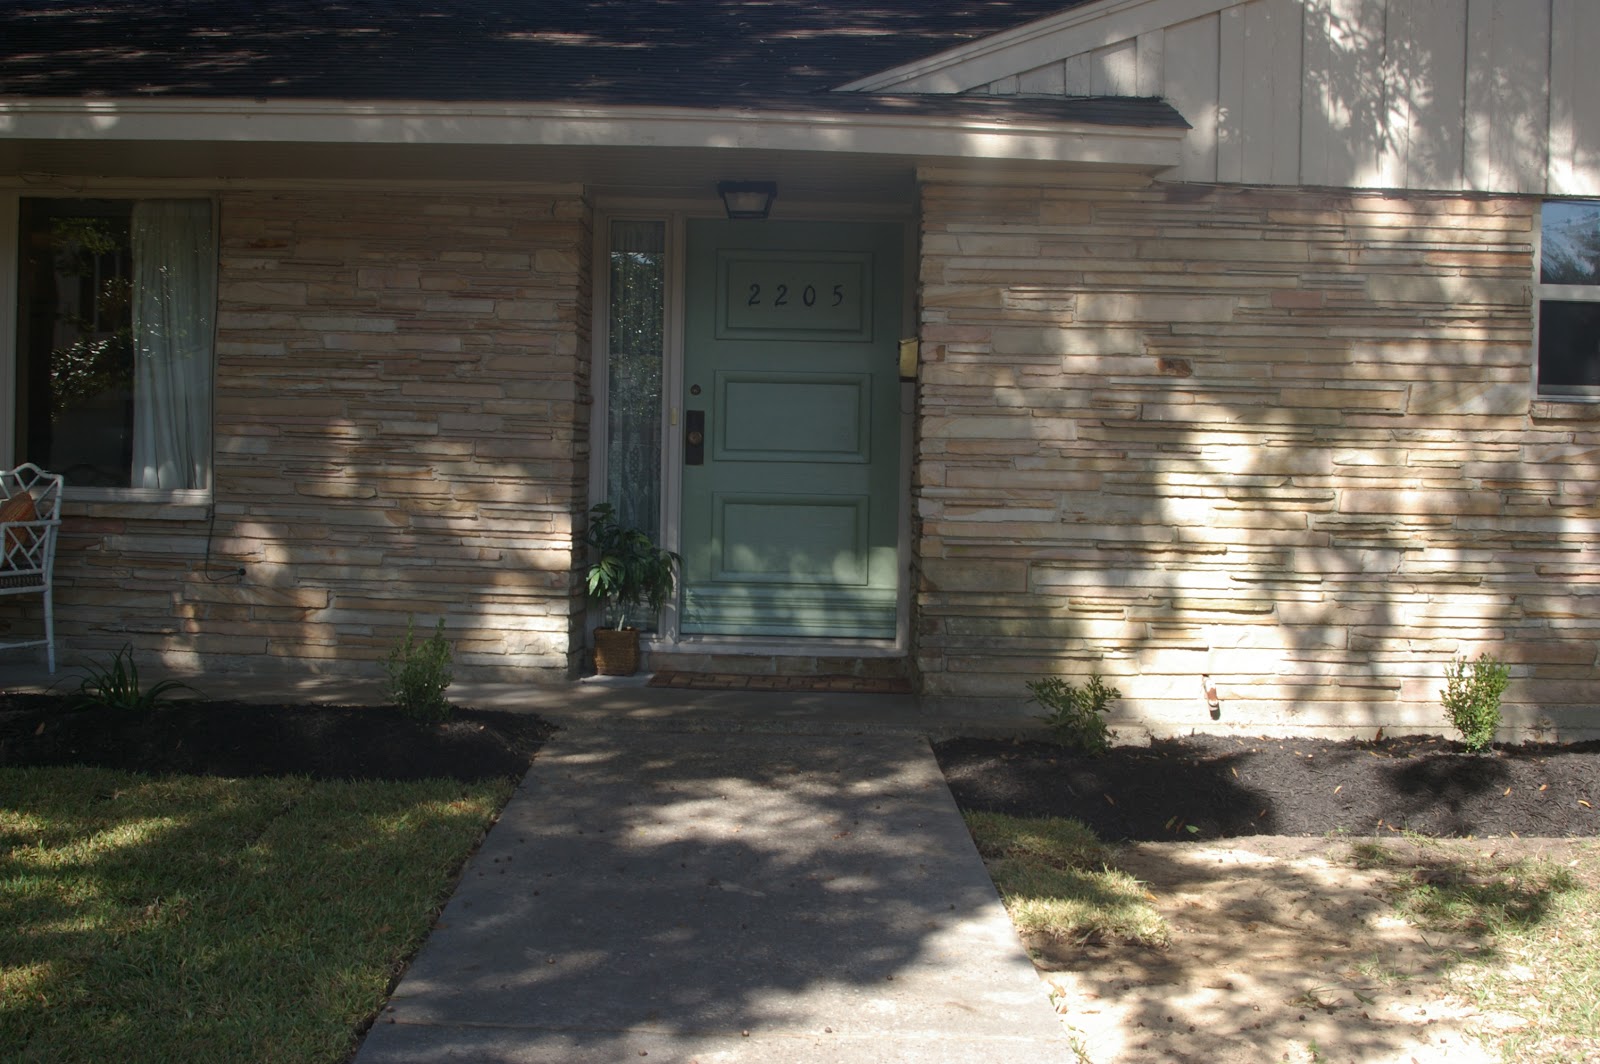
Showing posts with label moving. Show all posts

Wednesday, September 11, 2013

Moving: Collection of Posts


Left: Our Old House

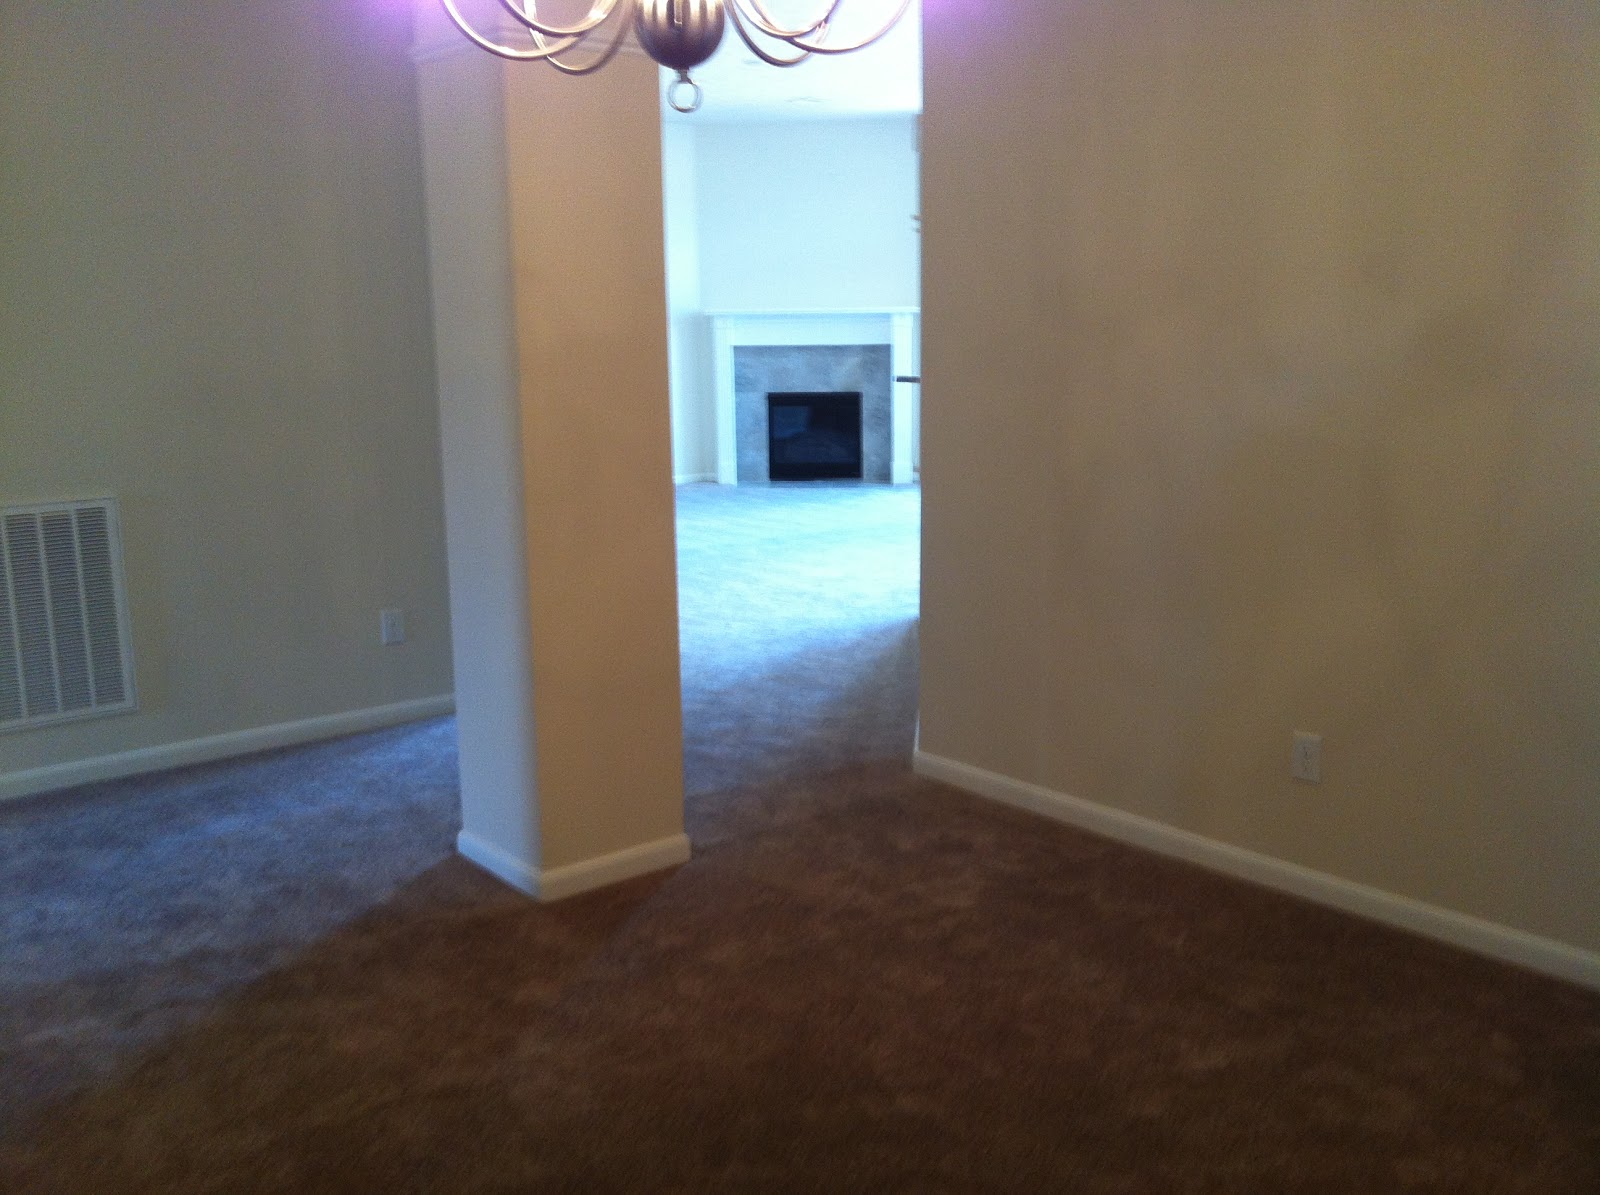
Right: Our New House that we moved into Summer 2013


I've got to admit...I don't like moving one bit. Well, maybe I like getting into a new house, but the whole process just isn't fun to me. Nevertheless, I've moved several times and have developed ways to make each move a little easier on ourselves. These tips are the ones I go back to because they worked for me. Everyone moves a little differently, so take what works for you and forget the rest.


Looking for more pictures/details? I've linked all of my moving posts below!

  • Start packing in little spurts as soon as you know you'll be moving. I've found it's better to pack 1-3 boxes every day than to crash and burn a month before my departure date. The thing is, I always have more to do right before the move than I think, even if I have been preparing all along. And when that time comes where things just seem to come out of the walls, I sigh a sigh of relief that I'm not also packing the many, many boxes I'm finished with.
  • Set up a packing tub full of the things you'll need as you pack around the house. My tub gets messier as we move closer to moving time, but it's always in one place. Where's the scissors? In the packing tub. Where's that permanent marker? Check the packing tub. I just hate looking all over the house for things right when I'm ready to really start working, and the packing tub cuts down on this quite a bit. You only have to find where you set the packing tub last time you were packing, not the scissors, tape gun, trash bags, markers, etc.
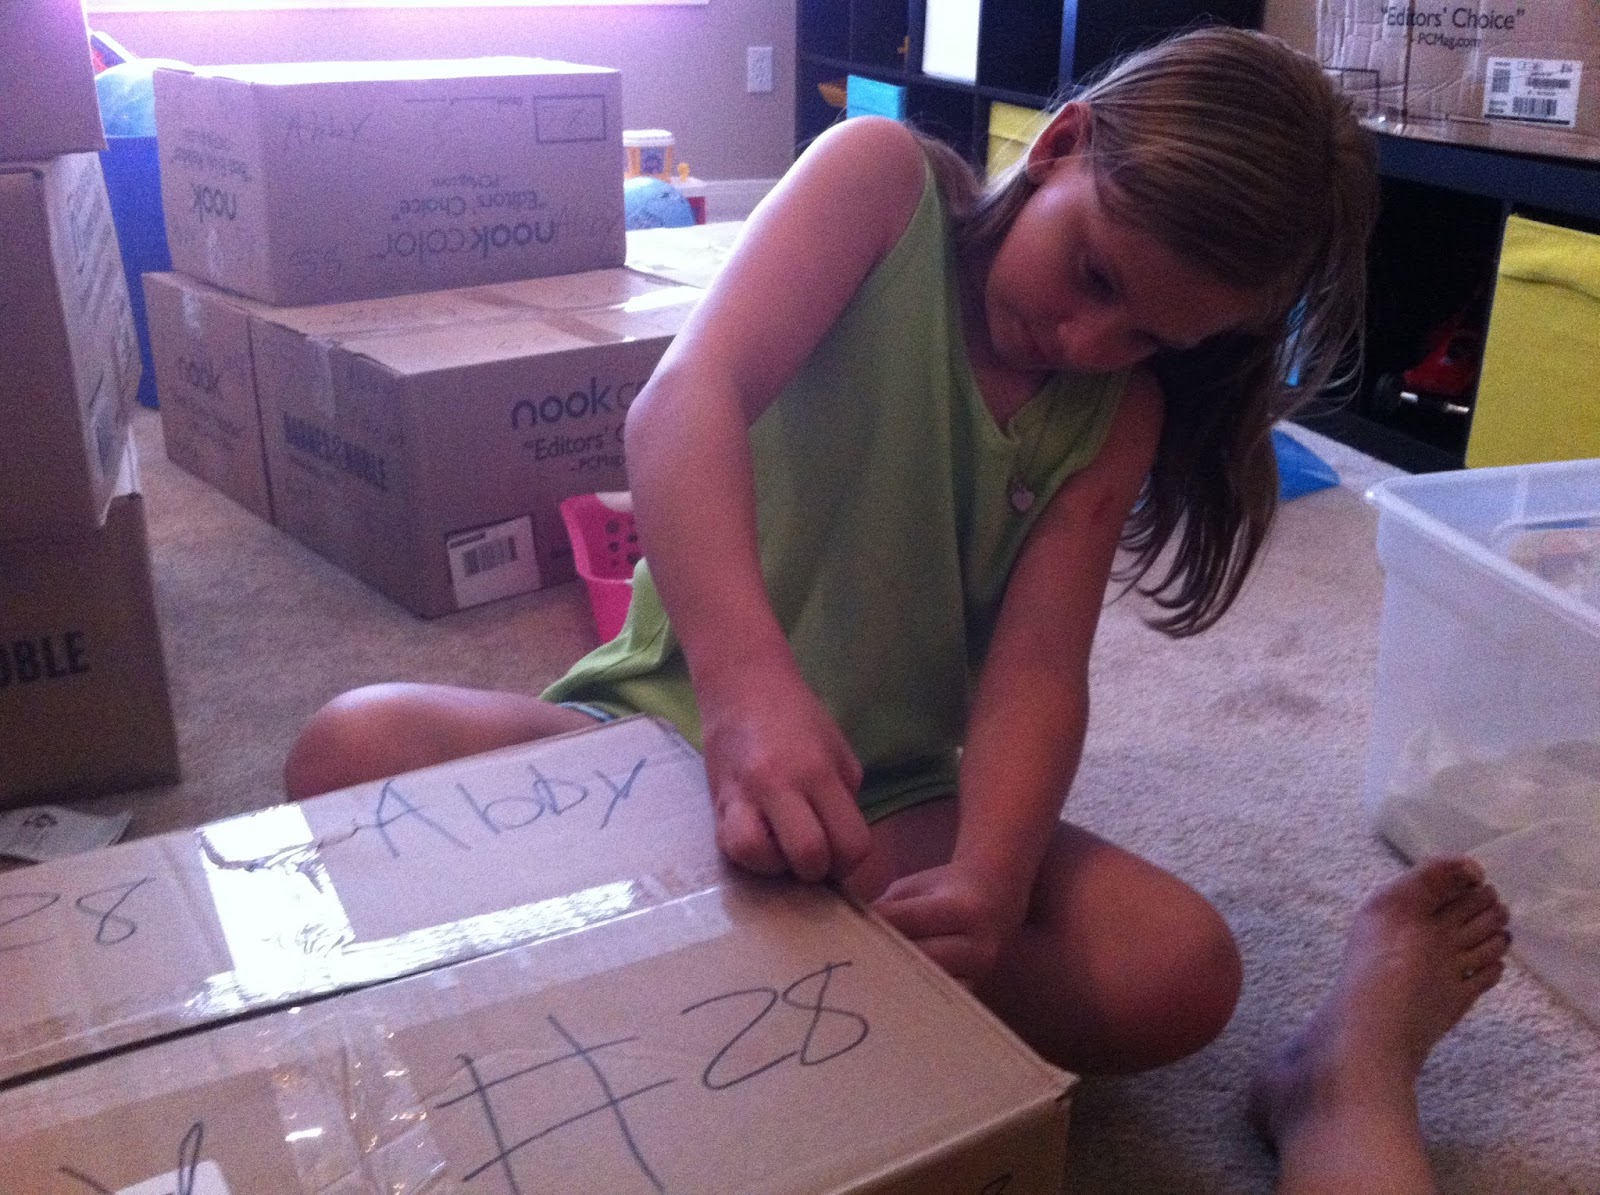
  • Get nice sturdy, easily carried boxes and label them all the same way. We love Barnes and Noble boxes! They were the perfect size to carry heavier items and they weren't too cluttered with ads and words. Plus, they were free. And, I don't spend a lot of time labeling. I use a simple black permanent marker, a notepad, and pen. No fancy notebook set-up for this gal.
  • Don't think you're stuck with only boxes. For example, "packing" blankets and stuffed animals away in big recycle bags places them out of daily use so they won't mess up the house while you're showing it, but still gives you access to padding for big breakables when they get packed later down the road.
  • De-clutter like you've never de-cluttered before. Always keep a donate bag and trash bag handy. Anything you get rid of doesn't have to be packed at all--and believe me, that's worth it. Moving is expensive and tiring no matter how much or little you have, but the less stuff the better!  Every truck load to the trash means a truck load less on moving day. Every van load to the thrift store or donation center means that much less in the moving van. Little stuff takes up lots of space when it's all packed for a move. However, there are a few things I would hold off de-cluttering until after you move.
  • Lighten your workload and schedule as much as you can before starting to show your house.
  • While you're packing, ask yourself often, "If I can live without this in a box for 6 months, do I really need it?" Sure, there will be plenty of things you will want to keep that can be packed; keepsakes, the majority of your books, etc. But, be discerning. Don't pack stuff just because you can. Get rid of more than you think you can.
  • Be willing to let go of plans if they don't work or you feel God tugging you in a new direction.
  • Even when everything seems to be about moving, don't forget to leave it all behind you and go spend some time with your family doing something fun!
  • When un-packing, don't think you have to find the perfect spot the first time. Assign homes to things in a logical manner. As long as you can find them comfortably, you will be able to find and use everything you need and it will stay neater. You can take your time to find a permanent home for things as you settle in and get in a routine. There will be things you learn about your house (like that there's a really convenient trash can right above a great spot for the cutting board) that you won't think of right away. Allow yourself that discovery time before finding permanent homes for your things, but don't leave stuff in boxes. Boxes are the least convenient spot for anything to be usable.

Are you moving or thinking seriously about it? Here, you'll find links to my moving related posts. Plus, at the bottom of this page I've posted a link-up party where you can find all sorts of moving stories or advise.

BIG NEWS!!! Like 2500sqft. type of news! (The house we ended up buying was 3000spft!!)
Choosing a Builder and Initial Goals
Series On Moving
A Weekly Moving Schedule
Prepare For Imbalance
Guilt Free Decluttering
Gentle Decluttering with Children
Moving Supplies
Not Just Boxes
Big Changes to Market Our House
Chaos to Calm in 2 Hours: Whole House
Life Showing Your House
Poor woMan's Way to Pack Stem Ware
When the Move Isn't Smooth
Quick and Easy Box Labeling


Moving Challenges:
Challenge 1: Reducing Your Laundry Load
Challenge 2: Small Kitchen Clutter
Challenge 3: One Tub O' Stuff
Challenge 4: Stuffed Toys, Pillows, and Bulky Blankets
Challenge 5: Attack Something Scary


Our New Home Updates (First Plan):
Our Land! --this plan didn't work out
Pouring the Foundation
Sidewalks, Driveway, and Bunking in the Living Room
Letting Go: A Touch of Sad News

Where We Moved:
The Countdown is HERE!
Renting an Interim House
We're Moved In!
Welcome to our New Home!
New Shelves in the Kid's Playroom

Other:
Before Buying An Older House
Staging a Low Revenue House


Friday, August 9, 2013

New Shelves in the Kid's Playroom

When we sold our old house and bought our new one, we ended up with a little more money than we had planned for. Hurray! So, even though we hadn't planned on buying any new furniture, we had the opportunity. Decisions, decisions.

Well, Abram had to have a new bed and so did Bubzy. We started with that. Then we decided that we'd love to have better toy storage. After all, that's a biggy when it comes to clutter and I really didn't want all their toys scattered about all over the playroom. (One of the reasons this had to change was a shift in storage needs. We used to have built in dressers in their closets where they put all their folded clothing. Their room dressers were used primarily for toy chests. Now, they needed these for clothing and didn't have storage for toys.)

So, off to Ikea we went. A few too many dollars later, and we had beds for both boys and toy storage for the playroom. I can't wait to show you!

It was such fun. Everyone helped put them together...even Bubzy. And, they fit perfectly!! Well, we had to cut off a bit of molding around the floor, but it's totally not noticeable.

 
Okay guys, just pile all the stuff on one side of the room so we have space to put shelves together.

 
This one?

 I got this, Mama.

Checkin' out Daddy's work.
 Daddy's there to do most of the heavy work.
 Can I try the drill, Dad?
 I need that one, Sissy.
 Bubzy really got the hang of putting the pegs in each shelf. That was his job and he was really proud of himself for helping so much.
 
Abby is so proud of the new shelf bins that she can use to store all their little toys in.
 
We even got daddy to hang some things on the wall, and Abby went right to organizing.


 YEAH!! Time to unpack!! Only one box at a time, please.

 
We can't wait to show you the whole room when it gets set up and organized. We feel so blessed to have an upstairs place just for playing and having fun.

Tuesday, August 6, 2013

Quick and Easy Box Labeling

Okay, so I love all those posts about color-coding moving box labels. It's just so pretty. But...I'm just a little too lazy for that. I mean, if I'm going to color-code...it's going to last more than a move. And, personally, I'm not much of a color-coder anyway. I like stream-line, one glance, don't have to think about it or explain it to anyone.

So, here's how I label my moving boxes:

I label on the top and two sides of the box with a permanent marker. Each box has a number that's assigned to that box, the room it will go in, and who's stuff it is. See the second box down, #77?

 
I have a notebook, nothing fancy, where I list the boxes assigned numbers. By the assigned number is where in the house the box belongs, and then I list generally what's inside the box. I don't inventory the box or anything, but if my camera is in there, I make sure that's written down. If I know I'll be looking for it, it's written down. 


When we move in our new home and I'm looking for my camera case, all I have to do is scan down the list. Oh, it's in box #77. And then, when I or someone unpacks the box, we mark a line through it. Easy. P.S. See the line right under 77? Those items were packed in my green bin instead of a box. I could've stuck a number on it, but since I only have one green bin, I didn't.

Notice...it's easy enough that there are boxes packed by various persons in our family, and they still got labeled correctly.

Monday, August 5, 2013

We've Moved IN!!!

Oh my, folks. This was the longest, hardest, weirdest move we have ever made!

But...we're finally moved in. FINALLY.

We found the house of our dreams, but the sellers weren't ready to move until the kids were out of school for the year. Since our house had already sold, we had to MOVE TWICE. Talk about the ultimate in difficult moves, moving twice in 6 weeks.

For the duration of the 6 weeks, we moved the bare essentials to my parents old house that they were trying to sell and staged it while we were there. We haven't got the final word yet, but they had two interested parties and might have a sell--we hope.

After all of that, we decided to hire movers the second time around. Still not convinced that was the best thing we could've done. They moved all the furniture and packed boxes, but left a ton of bins and odds and ends behind. It still took us a day of moving after the movers were finished. Oh well. At least Josh didn't have to break his back moving twice. The heavy stuff was done.

So, I know you're really just waiting for the pictures, right?

Welcome to our new home!


Dreamy corner lot on a culdesac, with trees galore.

 
And a swing-set that stayed!
 
It's so exciting when you see the moving truck pull in front of your new house!

 
Just put those there...and there, and there, and there, I guess.

 
Toys go upstairs, Daddy. Can I help?

 
Hmm...what goes in here?


Wednesday, May 8, 2013

Staging a Low Revenue House

Sorry I haven't been writing often. We're on the last 6 weeks of this really long move. I'm not only trying to stage this house for my parents to get it on the market, I'm also trying to make it through the final 6 weeks of school when we're a little behind.

I thought I'd stop by and share the finished den area with you. I only spent about $25 on it since I had all but the rug and mirror--and I bought those at a thrift store.


Before:


After Staging:


A Low Revenue House:

Some people spend thousands of dollars staging a house for market, but when the house for sale is a third of what an average house costs these days, you don't have thousands to spare. So, what do you do?

Most of the time you stage it yourself. So, here's a few goals to keep in mind.

1. Choose the best feature in the room and tie everything to it. In my parent's den it was this gorgeous stove and brick back-lay. We arranged the furniture in such a way to highlight it's beauty, and that in turn dims some of the other not-so-pretty features.

2. Use as much light as possible. My parents had a family friend come and repair the lighting in this room which made a huge difference. Then, the use of reflectives and lamps helped bounce that light around. Features that aren't your favorite, like these wood panel walls, can look a whole lot better with a little light. (My parents cleaned them spotless to make sure they didn't reflect dust!)

 
3. Choose furniture that makes the room flow nicely. This may not be your nicest furniture, either. My brand new leather couches would have overwhelmed this room, blocked the stove, and made the room look horribly dark. I chose my antique, low-lying furniture for it's lightness and square edges (that mimic the edge of the red brick).

4. Add some warmth and coziness to the space. A $10 thrift store rug and some flower arrangements I already had, brought the room to life. You don't need to hide the flaws--they're going to see them anyway. What you want is to sell home, warmth, and livability. You want them talking about the way they could fit their den furniture in here, instead of guessing that this room could be used as extra space to store stuff. You want them falling in love with the fireplace and the thoughts of Christmas's future with family around it, not the inevitability of a new floor. Sell that life can happen IN THIS house right now! You can be comfortable as soon as you move in, even if you do want to replace the floors and paint the walls.

5. Use your very best! I packed almost all of my stuff in storage for this move, but I kept out my best decor for this project. Don't make the mistake of decorating to match what "starter" families will have on hand to decorate. Don't think, 'well they're not going to have nice paintings, so I may not want to "overdo" the space'. First of all, you never know. Second of all, sure--most people looking here are looking for a starter home--but they have dreams, too. Show them the home's potential. Sure, you may not have all this starting out, but you can do this! A nice mirror here, a bouquet of flowers there, and a warm rug and you can have HOME right now. You don't have to wait until you have three kids and move to a nice suburb to have the life you want. You can make this your home.

6. It's more about a feeling than about walls and floors. It's nice when you have the money available to paint all the walls (if you do, it's really important to do this) and to re floor anything that needs it. My parents were able to paint the non-paneled walls and had new carpet put in the bedrooms. They also put a nice wood-like floor in the halls and living room. This went a long way, but then the budget money ran out. Any more, and they weren't making what they needed.
But, remember when this happens, that a home is not about walls and floors. It's about family! Think about what every family needs to feel at home. A clean kitchen, an uncluttered space, a comfy and clean place to sit around and chat, a kitchen table to eat around, a clean and crisp bathroom that smells nice, and a cozy bed to climb into at the end of the day. Focus your attention on these and you have it made! Create these spaces to the best of your ability. Tell a story through your furniture.

What do I mean by tell a story? I mean, show them how they could live while they're here. Look here in the den. See, that hutch fits nicely by the stove and we can all sit around relaxing together in any weather. In the mornings the kids could eat their cereal and still see the cartoons before heading off to school. In the evenings I could cook and still be able to chat with the family as they sit at the table with homework. Oh, and this little bedroom would be the perfect office space and later we could use it as a nursery. Show them through furniture and decor placement how they could use this house to their advantage. Help them see it as a home, with life and food and help them hear the chatter around the fireplace and the smells of a nice candle going in the master bedroom. Help them to FEEL at home here.

7. Ignore what you can't change. Oh yes, you change what you can, but then let it go. Don't try and find a way to camouflage the air unit sticking through the wall. Just ignore it and likely they will too. My dad reminded me when I tried to hide the window unit in the master that everyone in this neighborhood was likely to have one.

Well, that's it. That's what I did with this room. And I'll try and have more pictures up of other spaces soon.

Linking Up to some wonderful blogs:


A Bowl Full of Lemons
It's Overflowing

Tuesday, December 4, 2012

A Touch of Sad News

The house we're building will very likely not be ours. It is done...and our house is not sold. There are ways to work around it, which a lot of people do, but we're just not those kind of risk-takers. I can handle not getting what I wanted, but I can't handle the stress of two mortgages and hoping that the house sells before we go broke. That kind of scenario just makes the pit of my stomach ball up and ache. I want stability and peace. Not risky.

Am I worried? Surprisingly...no. I can't explain it. I have a real peace about this that just boggles my mind and I think it's a change that's happened in me.

I grew up moving often--I'm talking by the time I was 15 years old we had moved 13 times, only one of which was within the same town. I changed schools nearly every year! My DREAM is to settle. I mean, once I move into a house I want that to be IT. I want to retire there if you catch my drift. And I thought that this house was going to be that settling place until it really worked it's work on Josh and I. Josh is so stressed out here he can't hardly think straight. And I think that's where the change in me came in. It's just not about me. It's about them. I want a place now that will make my family happy. Yes, I have wants and needs too, but the bottom line is...I want a place that will make life easier and better for my family where they are NOW. I think I was seriously looking at houses thinking about retirement. At 34. With three kids, none of which have hit their teen years. Homeschooling.

So, I look at this house we've built--and it's gorgeous--but I'm just not sure it fits the bill. Then, after all of this falls through, and they start taking pictures to market the house we designed, we get to looking on HAR (realtor website of Houston). Oh my goodness. We could get SO much more house for the same or less money if we bought a 5-10 year old house!! The possibilities start flying and it makes me even more at peace about the house we built not being ours.

The most important part of all this is simple. If God doesn't want us there...then we don't want to be there. I know beyond a shadow of a doubt that God is Love and God is Good, by His very nature. So, why if this didn't work out would I be sad? If this wasn't where He wanted us, and we forced it into happening, we'd be missing out on God's best and that mystery awaiting us is so much better--I just know it is.

I started this blog to teach people how to live a debt free lifestyle (a lifestyle where a mortgage and possibly a cheap car are your only debts). I didn't know it when we started building this house that this opportunity would come up to teach this aspect of it, but here it is.

Do you want to live a lifestyle of freedom from debt? Then don't get attached to possessions...especially before you even own them. I have a feeling that a lot of debt in our society is mainly this very thing. People get attached to a picture in their head of how things are supposed to work and when they don't, they force it using debt or "creative financing" or some such other way of making things happen their way. I think these people are potentially putting themselves in chains that can hold them captive for a very long time. I think they also miss out big time on what God had planned for them. What would it have been? What will it be for us? They might never know. I can't wait to find out!

In our sermon on Sunday the preacher was teaching about how God doesn't punish us, but that the principle of sowing and reaping is still going strong. Usually when people think God is punishing them, it's really a weed they planted in their garden that's now really hard to pull out (my own paraphrase). How incredible that such a sermon would come right after we had made the big decision to allow things to play out God's way and not to grip onto what we thought would be ours. It's like God was standing right there, invisible but present, saying this is a bad seed you could've planted and good for you that you didn't. It could've been a doozy of a weed.

I know this is bound to hit hard on a few people. We made a choice that I hope others who have a choice in the matter will also make. But please...I am not here to judge those who've already made that kind of decision. First of all God doesn't turn into another person when you make a bad decision. He still blesses and helps anyone who seeks Him get back on their feet. God is full to the brim with grace as we've experienced time and time again when we've fallen back into bad habits, financial or not.

So...does anyone want to see the finished product? It's not going to be my house, but I designed the choices I had to reflect me...so I'm still proud of it anyway.


The front elevation really reflected my personality for Southern simplicity. A front porch, old-fashioned-like shutters, simple without being boring. And I love the light color brick I chose. I also purposefully chose a door with an oval and laid a curved sidewalk to offset the square house. Most Cervelle homes didn't have a lot of charm because of the boring elevations. With limited choices, I think I did well.


I love the Maple, but if I could've afforded it they would've gone to the ceiling. Also, I chose the best granite they had, but there weren't any that I loved. We even completely left off the tile backsplash because we were going to put in our own after moving in.

I do love the sink. And here you can see a close-up of the color combinations. My dream granite would be lighter and swirly.

The carpet we chose wasn't too light so it would hide stains.

We went with laminate in the bathrooms to save about $700.

I did like the open floorplan.

Final picture in front of fireplace. We had been taking one here through the whole process and figured we should at least complete them. I have to have a fireplace in the next house!

Oh, and I'm in love with this door. That will likely be a priority in first changes if we get an already built house.

I selected the red pavers to draw out the red in the brick. And, of couse, a porch. I would be a wee bit sad if the next house doesn't come with one. And, though simple, I love the wide shutters. Few people in the neighborhood had them.

So, what do you think??

Sunday, November 18, 2012

Before and After: Front Yard 2012

As you all know, our house is on the market and we've been feverishly working to fix it up for the sale. The front yard was one of our proudest accomplishments even though we didn't have the money to finish it off. (We decided to only get out a signature loan for $10K to do any and all upgrades that we had to do to make it ready. The yard was the last of what we spent it on.)

So, here is when we moved in:


We actually had more grass then! This was about the time the drought started and a lot of our grass died. I don't know if I have a pic, I'll see. Nope--no dead grass pics, but trust me, it was brown city.

Okay, and now for the afters (I know I have more than one of those):

 So, here's what we did. First, we painted the outside of the house a much lighter beige. It brightened up everything! We also put one of my green stars in the middle of the eave (is that what they call it?) just to give it a touch of character.
 Josh and Seth got up in those trees and trimmed the Dickens out of them! That also brightened things as they were shading the majority of the yard and covering up part of the house.
 We removed all of the dead or scraggly bushes and plants and trimmed the ones we wanted to keep.


 We would have loved to put siding on the house, but that alone would have taken the majority of our renovation budget. We hired professional painters and had them put on about 4 coats of paint! Even the edges of the windows and doors are the lighter color now.
 You may not be able to tell the difference, but the grass is much greener from watering it regularly. We also uprooted all the plants that were around that left-hand side tree and put a hardy helping of mulch around the bottom of both. It looked so much better!

 I mentioned the drought before. We had to put down new grass on the back half of the left-hand side of the yard. You can actually see where the new grass ends. That was also the end of our money and why we didn't put matching grass everywhere in the front yard.

 Oh, and did you notice our door? Not chocolate brown anymore, but a much brighter lovely green. We tried orange the first try to match the pillows. Ha! It was a joke. Even the painters were laughing (after they knew I also thought it was extremely bright). I'm talking, sherbet orange!! Anyway, I went to an old hole in the wall used renovation supply store and bought a gallon of Benjamin Moore in this green for $10. I have most of it left over for a future project. Yay! Anyhow, my hubby did the painting on that door. Looks good, huh?
 We also put dirt in all around the house. That's a little bit of a story, actually. The drought had the entire foundation edges exposed! I was horrified and called a few people to give me estimates on repairing the foundation. All but one said the foundation was still stable from all the previous work (see old photos of hallway and you'll notice the big square plywood patches), but it just needed a little tweaking. It would've cost about $5K. So we had some choices to make. We found out that our plumbing was fine but very old--the iron pipes they used to do back in the '50s. Well, they said insurance would usually cover the pipes being replaced for modern PVC, but it would take longer than what we had. However, if we did the foundation work, we couldn't go back and do the pipe replacement, because they were going to pump a dirt/concrete mixture under the house. Huh! So...we decided we'd rather take $5K off the value of the house and leave it up to the next home owner to decide whether they wanted their plumbing changed out before repairing the foundation. So, we just filled back in all the dirt around the edges and disclosed the problem.
 Here's a better picture of our new door color. And see the new baby bushes? We uprooted the old and put in new. It tidied up everything with dark rich mulch and new plants.
 I love how the new grass makes the whole front of the house look newer! I also created a little seating area and we bordered around the concrete patio. It was a really awkward place, so I wanted to display it as a useful space.

I just love the way the seating area turned out! I did this myself for about $15. The chairs were thrift store finds for $6 a piece and I spray painted them in Heirloom White (if I remember correctly). Then I put out the Iron skillet Wenzel box we got at Sam's years ago. You can find that in some of my really old pictures. Then I bought that little blue box--another thrift store find, and filled it with a fake plant and garden tools that I already owned. I threw a couple of outdoor pillows on the chairs to give it some color, and wha la.

Okay, let's take one more look of before and after.

Before:


And After:

So, how do you like my front yard now? I LOVE it!!


Related Posts Plugin for WordPress, Blogger...